Wednesday, May 30, 2012

Easy DIY Chair Recover

This may be the easiest DIY project I've ever done. I seriously don't know why I put it off for so long! I have this dining set that I purchased in college. It was the first piece of furniture that I bought for myself so I just haven't been able to get rid of it yet. I am currently using the table in my craft room for my workspace and I have saved a chair for a desk chair. The chair has definitely seen better days as far as the fabric goes, but it is still sturdy. The fabric was very blah...the standard cream ribbed fabric that you see on most sets. While this was ok for my college apartment, I wanted a little more flair for my craft room. I truely had no idea how easy this would be!
I started out by taking the cushion off the frame by simply unscrewing it from the bottom.


Then I tore the backing off of the cushion to expose the staples. I sat for a while contemplating whether or not to rip off the old fabric..NAH, that would involve a little more work than I was planning.
Next, I cut a piece of fabric to go over the seat.
 TIP: If you are going to leave the existing fabric on, be sure to invest in a heavy fabric to recover with.
Then I simply centered the fabric and started stapleing the fabric around the seat. Be sure to pull tightly as you go to make sure your cushion is nice and smooth. No one likes a saggy seat cushion!

As you can see from the photo, I used a standard office stapler. My seat was soft enough to do this, if you have a thicker seat (ie you spent more than the  $100 I did on my set) then you may need to use an actual staple gun.

Then, just staple the batting back on and put the chair back together.

Now isn't that better than the boring dirty beige? 

Thanks for coming by!!

Wednesday, May 23, 2012

Giveaway! (And a new job)

Oh my goodness, it's been a long time since I have posted. This is partly due to the fact that I haven't had a chance to do many projects lately. (My FIL and I are currently working on a wooden bench for my front porch that I can't wait to share with you!) I do have some great news though! I have been offered a new position here at the university! Starting June 7th, I will be the new Career Coordinator in our career center. This means I will no longer be traveling! YAY! I've seen some amazing places and met some REALLY great people over the last four years but now it's time for a change. My life isn't the same as it was when I took this job at 22 years old. I was single and hopping a plane to a new city each week was a blast. I am very thankful for the experiences that I had but now with a husband, two dogs and a house, it just isn't as much fun to be gone all of the time. So YAY NEW JOB!!

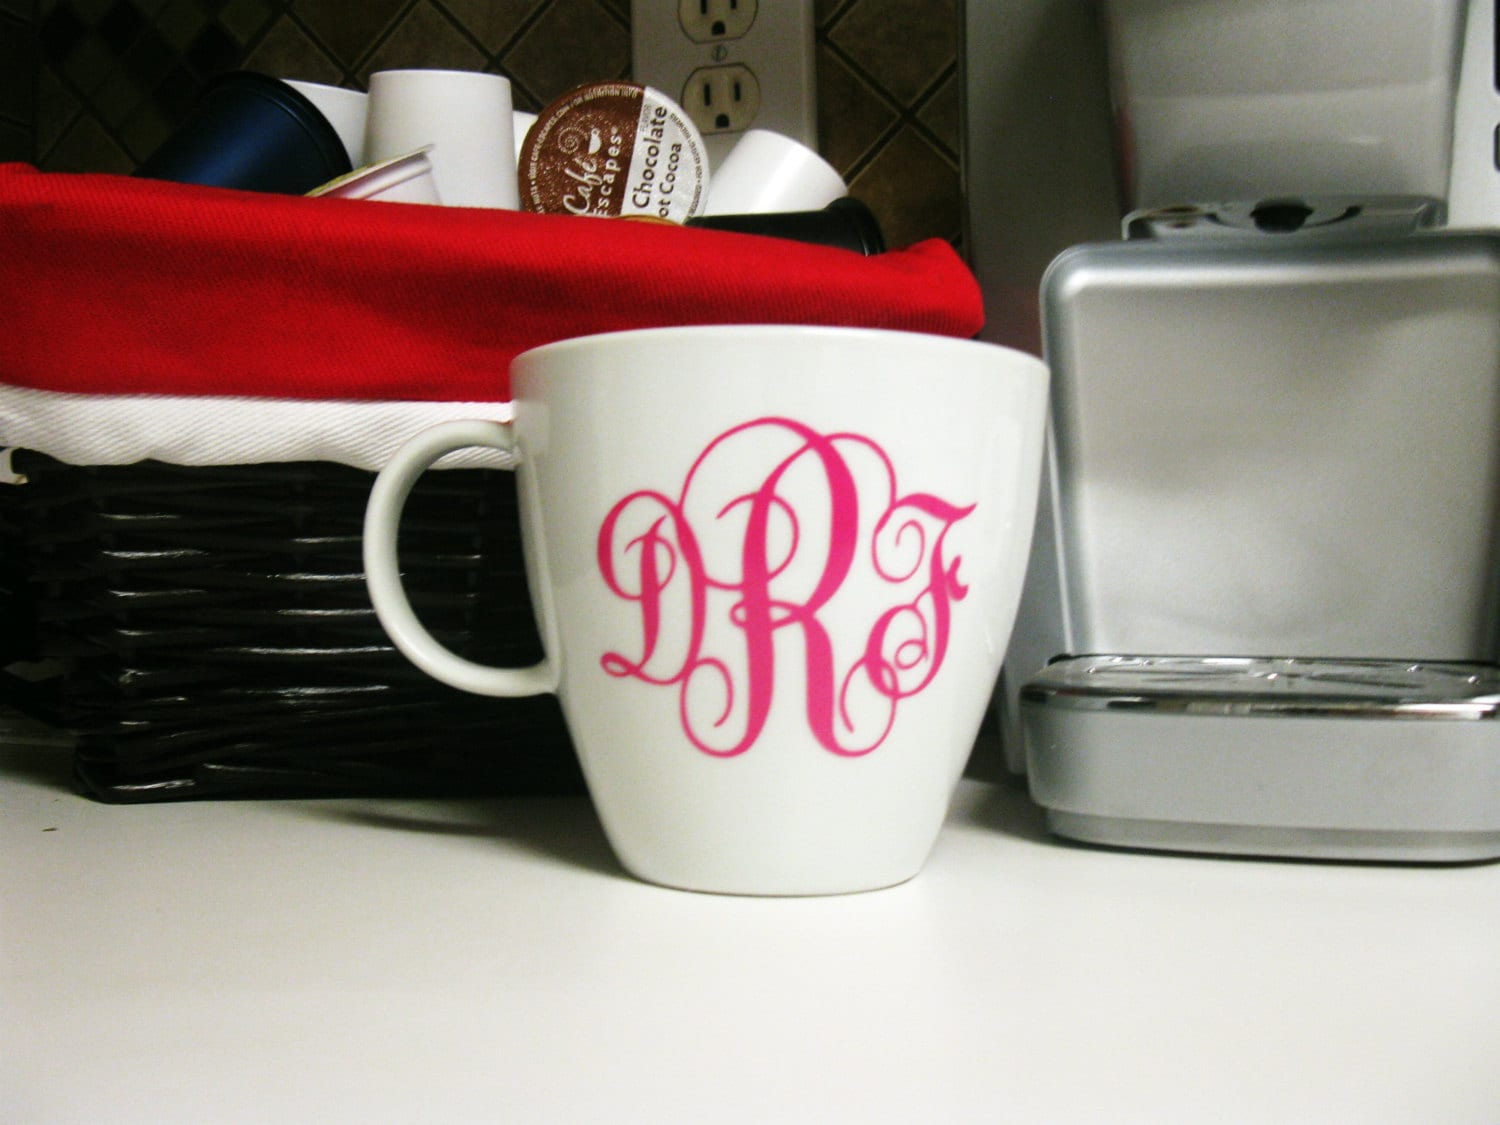
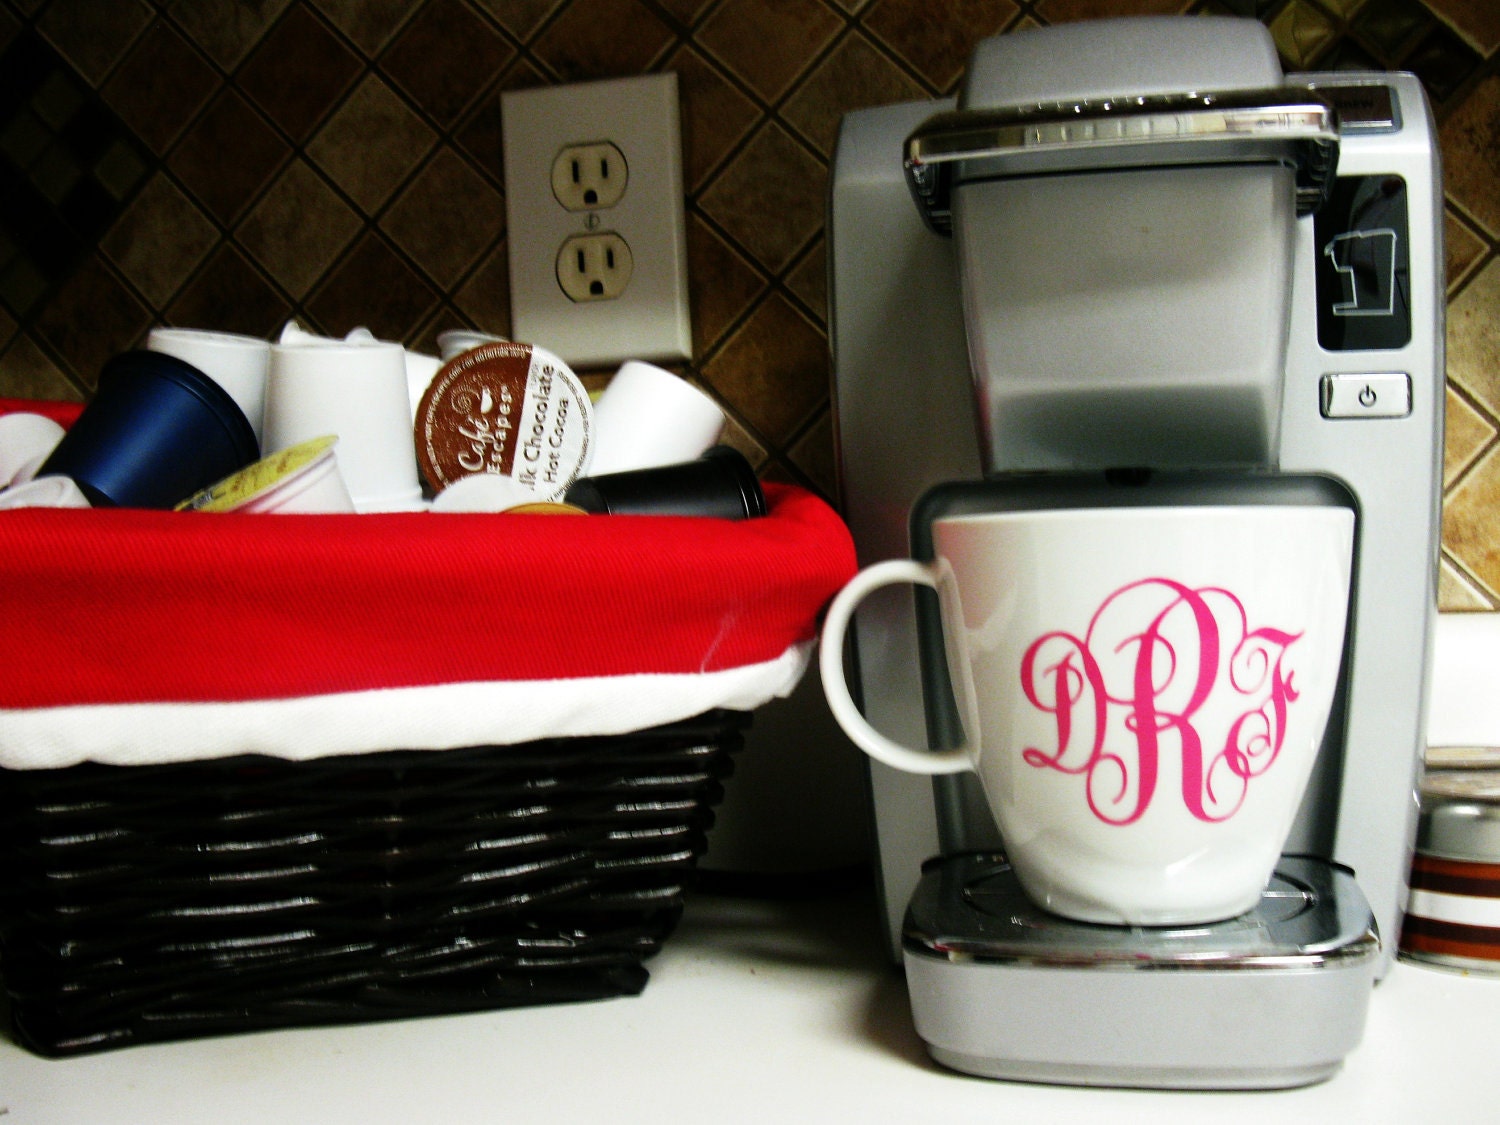
Also,  I am hoping this means I will have more time for my blog and for my etsy shop since I won't have to work as many nights and weekends. So to kick off this new chapter in my life I am going to host a give-away from my shop. One lucky reader will win a large monogrammed bistro mug from my etsy shop Over The Moon Gifts.

Three letter monogram bistro mug - Start your morning off in style with this personalized bistro coffee mug with your monogram. This mug is the perfect size to fit in a mini keurig. With a large 18 oz capacity and bistro style handle will keep you going all day long.
Monogram available in many colors.

So here's how to enter:
You MUST be a follower of Cupcakes and Corndogs and then all you have to do is leave a comment at the end of this post! Brownie points if you tweet or share this giveaway on facebook, just leave another comment with a link to the post. All other repeat comments will be ignored.

PLEASE make sure I have a way to contact you or your efforts will be  in vain :)

On June 4, I will use random.org to generate a number and then count down to that number to determine the winner. Good luck!!


Tuesday, May 8, 2012

DIY Faux Stone Planters

I'm finally getting around to uploading my tutorial from my new planters. I have been looking for ways to spruce up our front door area. I've sifted through hundreds of images on pintrest like this one from The Yellow Cape Cod.  If you haven't visited her sight you absolutely should. She has a GREAT 31 Days of Building Character in a builder home that I love! This picture was also the inspiration behind wanting to paint our door red.

As I started shopping for planters I was surprised at how expensive they are. The pretty stone ones are no less than $50 each! I knew I wanted grey stone or a cement look but if I bought two at $50 then I'm already spending $100 on this "small project" so they would have to sit empty! I walked around the store for a while trying to come up with a plan B. Finally I found the plastic terracotta looking  planters that were $8.99 and fairly large. I picked a shape I liked and bought two of them.


Then, I ventured over to the spray paint aisle. I knew they made a stone spray paint. After staring at the spray paint for a good 20 minutes, I finally decided to just go with a textured finish instead of stone. Krylon makes some great textured paints. I picked a dark gray. I primed both pots with a gray primer then gave them both a good spraying with the textured spray.


 Up close they don't really look as much like stone, but again I did just use the textured spray paint, not the actual stone spray paint. From the road they look great! Definitely better than the plastic terracota they were before and much better than paying $100 just for the pots. I picked up these plants for $15 each at a local nursery. I am not sure what they are but he said they will be pretty all year long and they are pretty forgiving
so that makes a winner in my book!


Let me know if you try them yourself! I would love to see your pictures!!!

Linking up to Ideas for Crafting

Monday, May 7, 2012

LA whirlwind

Wow! Time completely ran away from me over the past few weeks. I've had so much going on that I haven't had a free second to blog in a while. First, my husband's grandfather passed away. He had been sick for a while and it was expected, and almost a relief since his quality of life had deminished to little of nothing, but it was still a hard time for all.
Then, I hopped a plane to Los Angeles for work. I was there for three days and actually had a little free time to explore while I was there (this is rare of my work trips because normally I am in high schools during the day). The first day I was there, I took a TMZ tour. It was a blast! My tour guide was great, and come to find out she was from Alabama! What are the odds?!? The tour took us around Hollywood and Beverly Hills to see celebrity hot spots and a few homes. Unfortunately, we didn't see any celebrities while we were out but here are a few cool pictures I was able to take along the way!
The infamous Hollywood Sign

 Capitol Records
 The Rose Bowl - actually in Pasadena, I had to go check it out since I didn't get to make it to see my beloved alma mater win the national championship there in 2009.
 Rodeo Drive
 Chineese Theater
 Venice Beach
 Kodak Theater
 Venice Beach
LA at night


After not seeing a celebrity on my tour, I was a little bummed. However, the next day at my college fair, look who I found!! Justin Chambers (Alex Karev from Grey's Anatomy) He's probably one of the six people I would recognize in Hollywood. Grey's is my absolute favorite show and I haven't missed an episode since the first season. He was at the college fair with his daughter (the oldest of his 5 children) He was very nice and even took a picture with a fellow college rep from a neighboring school for her birthday. (I cut her out here for her privacy)

It was a great trip! My next trip is to Denver, CO in a few weeks. Have any of you readers ever been to Denver? This will be my first time so I would appreciate any tips on great restaurants or must see's!